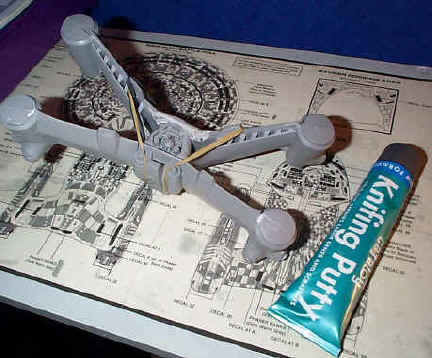
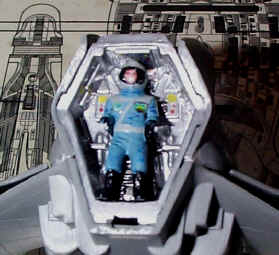
This is the finished model. I weathered it by roughly mixing black and white acrylic paint and dabbing it along the panel lines then dragging the paint with a dry rag towards the rear of the model as though grime and lubricant had run around the panels. I had to use greys and whites to stand out against the black metallic paint job.

The decals were not so bad although the omega symbol was so big it was difficult to get flat with no air bubbles. There are some small, square white panel decals which seemed to stand out too much so I put a blob of paint on top of them and smeared it to disguise them a little. This makes them look like major access panels that have attracted an awful lot of grime. There is one thing I do not understand, as far as I know these ships are constructed for space flight so how do they get so dirty? If you look at one on the TV. show you can see all the grime on there ships as well.

The decals were not so bad although the omega symbol was so big it was difficult to get flat with no air bubbles. There are some small, square white panel decals which seemed to stand out too much so I put a blob of paint on top of them and smeared it to disguise them a little. This makes them look like major access panels that have attracted an awful lot of grime. There is one thing I do not understand, as far as I know these ships are constructed for space flight so how do they get so dirty? If you look at one on the TV. show you can see all the grime on there ships as well.
 I printed a small Babylon 5 logo onto a sticky label and attached it to the front of the stand, this just finishes of an otherwise boring base. I gave the entire model a coat of very weak black wash which only stuck to the areas I had weathered, this just did enough to bring the effect down a shade and gives a more subtle overall effect.
CONCLUSIONS
This was a good project that I enjoyed even though it seemed to take an eternity to complete, there was a little bit of filling but for the best part most of the parts fitted pretty well. I have read a couple of other reviews for the StarFury and every one seems to have two main gripes.
This was a good project that I enjoyed even though it seemed to take an eternity to complete, there was a little bit of filling but for the best part most of the parts fitted pretty well. I have read a couple of other reviews for the StarFury and every one seems to have two main gripes.
1- The overall size of the model
2 - Modellers found the cannons to be inaccurate and scratch built them themselves. I did drill out the end of the cannons to make them look a little more realistic, but I do that with most models.
I also read that the man who designed the Star Fury was disappointed with the dimensions because the animated StarFury's get compressed when the footage is converted for television. I personally like my fat little StarFury and it has pride of place now. (Well at least until I finish the next project!).
 |
| DLP Guitars - Handmade in Birmingham, England |