

The box describes this as been 1:32 scale and suitable for ages 15 and above (Skill Level 3). The parts are all white plastic except for the pilot who is a mustard yellow colour. There is a choice of configuration as well, the model can be built with landing gear up or down. I chose to hide the landing gear and mount the model on the clear stand provided in the kit.

There are detailed instructions and a comprehensive set of decals to apply. The ship can be configured as belonging to either Apollo or Starbuck so there is a choice of graphics and serial numbers accordingly. Some model builders might like to paint the red stripes by had rather than using the decals provided and thoughtfully the manufacturer has taken this into account by providing separate badges and logos to apply over the paint.

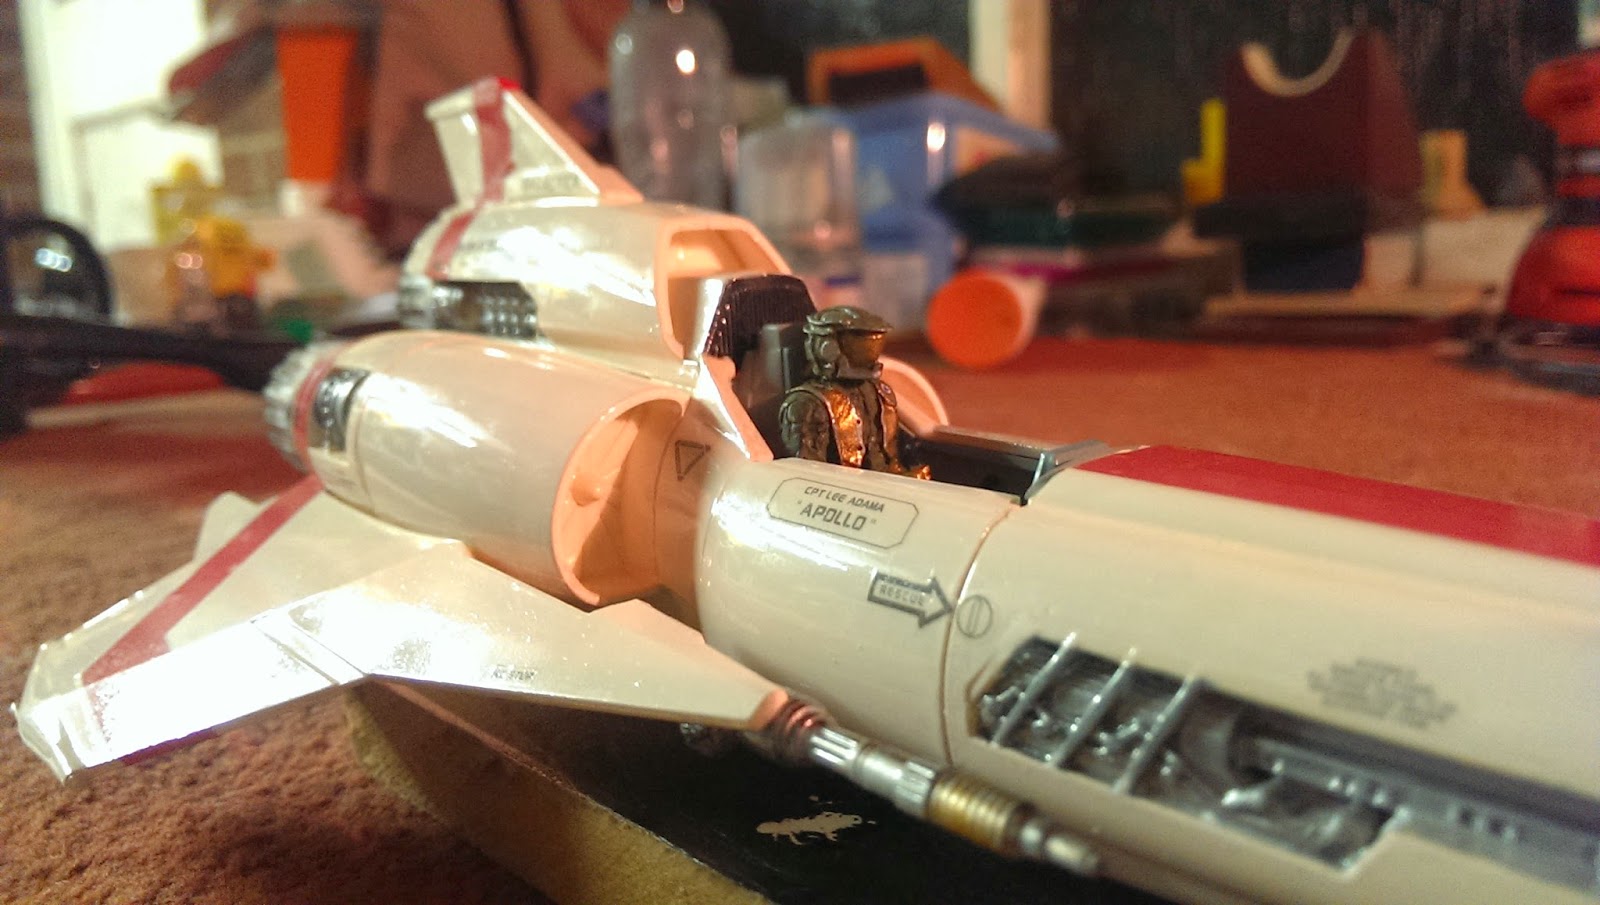
First things first, I set about detailing the pilot and the cockpit. There are lots of decals to apply here including different shoulder patches for the pilot (Apollo or Starbuck). The cockpit cover is quite large and transparent so I though it was important to detail the pilot to a high level.

There are a few parts to glue together to make up the cockpit and the pilot himself is in two parts (the joystick arm is separate from the rest of the pilot making it easy to install I assume).

The rest of the assembly was fairly simple. With the landing gear in the up position there isn't that much to the model. The quality of the parts is good, they came away from the moulded trees easily and didn't need much filing down. The whole model was painted with a slightly off white enamel paint requiring two coats in places.

A little forward planning is required when it comes to painting, some of the engine components and the laser guns might be a little difficult to access when glued to the body so they were painted before assembly.
Everything fits nicely and the instructions are very good in explaining which pieces need to glued in position firstly before attaching other pieces. This is quite important when attaching the wings and engine components as they all interlock with the rear of the body.

The decals are very fiddly and this is what perhaps elevates this particular model to Level 3 Skill. I found the decals over the rear of the model's engines and over the tail to be the most testing. They seemed to be slightly oversize and have a clear border which overhangs the final intended location.

It was not a problem as I used a scalpel to trim them once they had dried and I want rough edges anyway to simulate wear and tear. This might be a problem if the ship was been built to look like it had just rolled off the production line.

In a couple of places I used red paint where I didn't think I could get the decals to adhere which once again adds to the weathered look of the model.

I have done a little weathering, basically using a 'dry brush' technique, that is applying a little paint to a brush, drying most of it off and then lightly brushing the model.
All in all this is an excellent model, it is a great size and the parts all seem to be off good quality. I highly recommend it to anyone looking to bring a little Battlestar Galactica into their lives!

No comments:
Post a Comment